How to configure HowTo Schema in UAE?

So to get started, you will just need to drag-n-drop the How-to Schema widget in the Elementor editor. The How-to Schema widget can be used on pages which contain a How-to in their title and describe steps to achieve certain requirements.
Total Time Needed: 30 minutes
Total Cost: 69 USD

Required Tools:

- A Computer.
- Internet Connection.
- Google Structured Data Testing Tool.

Things Needed?

- A WordPress Website.
- Elementor Plugin.
- UAE Plugin.

Steps to configure the How-to Schema widget:

Step 1 : Enter the HowTo Schema title you want
Enter the title to your HowTo Schema
Step 2 : Enter the HowTo Schema description and add a relevant image
Enter the HowTo Description with a relevant image to your description.
Step 3 : Configure the Advanced settings. ie Total Time, Estimated Cost, Materials, Tools
Enter Total Time, Estimated Cost, Tools & Materials
Step 4 : Enter the Steps for your HowTo Schema
Steps for your HowTo Schema instructions. It can be a single step (text, document or video) or an ordered list of steps (itemList) of HowTo Step.

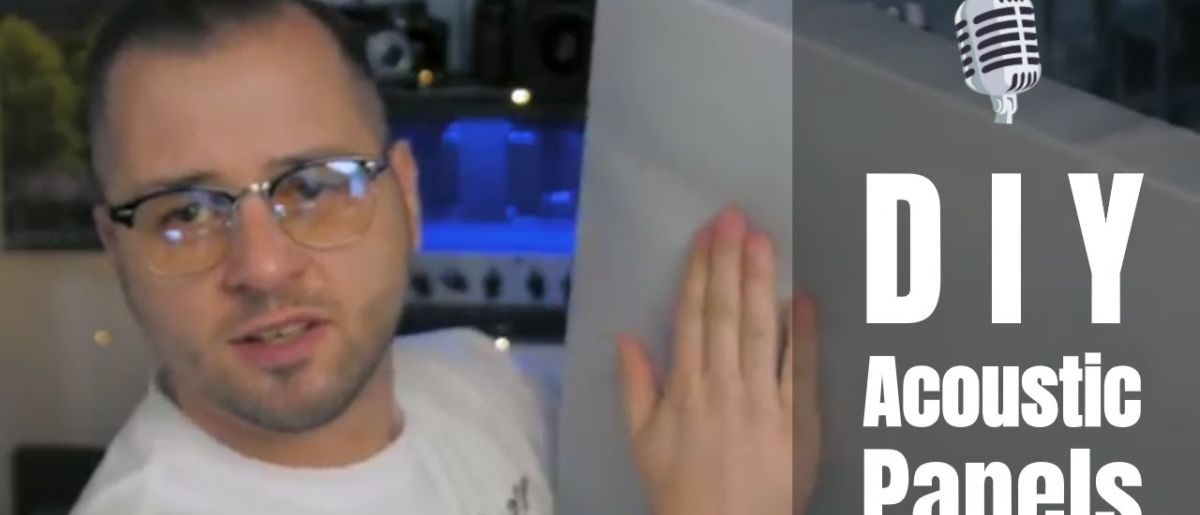
How To Build DIY Acoustic Panels For Better Audio Quality

maxresdefault
Play Video
Sound is an important medium in our everyday world. Whether it is part of a video or stand-alone, we rely heavily on good sound. Treating your recording space can get you to the next level in terms of recording quality. Professional acoustic panels are really, really helpful to dampen reverb while recording audio/video. If you, however, want to treat a full room it can easily add up and leave you with a huge bill. Can you DIY-built professional grade acoustic panels? Yes, it is possible and easier and cheaper than you might expect! In this video, I compare different microphones and placements without and with room treatment. I will also lead you through the process of building your own acoustic panels and make your room sound more like a studio. The best part is the cost. One panel cam in at a material cost of 15 Euros. That is super cheap =)

DIY Building Professional Acoustic Panels

Today we will go over reasons why you need to treat your room and tweak its acoustic properties if you intend to record sound or video which contains sound.

Not only are we going to talk about how you can build your own professional acoustic panels but also demonstrate the effect it has on your recordings!

What Are Acoustic Panels Used For?

Professional acoustic panels are really, really helpful to dampen reverb while recording audio/video. If you, however, want to treat a full room it can easily add up and leave you with a huge bill.

Can you DIY-built professional-grade acoustic panels?

Yes, it is possible and easier and cheaper than you might expect!

In this video, I compare different microphones and placements without and with room treatment. I will also lead you through the process of building your own acoustic panels and make your room sound more like a studio. The best part is the cost. One panel came in at a material cost of 15 Euros. That is super cheap =)

Commercial Audio Panel Solutions

Every DIY solution should be measured, compared, and contrasted to commercial solutions. While DIY often is cheaper, the time investment sometimes does not justify going the DIY route.

In this case, even if you are a professional artist, a media agency, podcaster, video editor, audio engineer,… the overall cost in time and material still beats any commercial solution. By building your own acoustic panels you also do not have to sacrifice any quality compared to commercially produced panels.

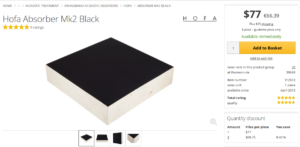
Professional Acoustic Panels available:

Note: this is by far the cheapest ready to buy solution out there. Fancier ones can be had for 3 times the price!

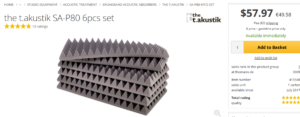
Audio Foam Panels:

The alternative to such larger panels is acoustic foam. It is relatively cheap to get, and you see it in almost every semi-professional YouTube video out there. For most people and YouTube viewers, this material signals professional audio like no other.

However, to get any effect out of it, you need to plaster these all over your walls and still will mostly diffuse very high frequencies only.

I also fell for this stuff in the beginning but quickly realized that this stuff does not cut it.

DIY Acoustic Panel Solution

DIY building your own acoustic panels undoubtedly is the most cost-efficient alternative here. DIY Acoustic panels give you the best bang for your buck.

You can customize your panels to fit your room and either go crazy with colors and patterns or make them barely noticeable. You can even make them look better than most commercial solutions.
Another bonus is that the installation can be made non-permanent. This allows for rearranging the room acoustics and to take the panels off for cleaning.

It is super easy to add extra air-space to create a gap between the soundproofing material and the wall. This can either be done within the frame or you add spacers to the frame to add some distance to the wall.

Additional air-gap-space reduces the sound energy even more and makes the acoustic panels more effective.

Benefits

Cost

There is the most obvious benefit to building your own acoustic panels and that is cost. I just spend around $20-@25 USD per panel. Considering the size of the panel, no commercial solution can keep up with the DIY method of building sound absorption panels. The ones that are affordable usually don’t give you nearly as much as you pay for them. Plus, the cheap solutions make your room look bad.

Isolation Properties

Design

Disadvantages

Time

Skill

HOW-TO BUILD ACOUSTIC PANELS - Project overview

We will be showing you how to build your own custom sound absorption panels to cut down on reflections and improve sound dampening to increase the overall acoustic quality of your room.

Overall, DIY building acoustic treatment saves a ton of money and is a fun project! You can build a panel for less than $20USD without adding a lot of time to the build. Building one panel takes less than 30 minutes!

Total Time Needed: 30 minutes
Total Cost: 20 USD

Required Tools

screws
power drill
stapler
straightedge
-

Materials Needed

wooden planks
fabric
screws
heavy string
rockwool
staples

Steps to Building A Custom Made Acoustic Panel

1. Building The Frame
this is how you build the frame
commercial sound absorber
2. Wrapping the backside
Take the fabric of your choice and wrap it over the backside, then staple it in place and onto the frame.
commercial diffusor
3. Fill the Frame With Rockwool
Take a sheet of Rockwool and fit it into the wooden frame.
cheapest commercial solution found
4. Wraping The Frontside
Now you can wrap the front side of the panel with your fabric of choice. To make it visually pleasing, wrap it all around the frame, then staple it onto the frame on the backside where staples won't be visible.
cheap sound absorber
5. Creating a mounting solution & Hand On Wall

You can simply drill in two screws and span a heavy gauge rope across the frame to hang it on one nail. Or you screw in a more stable solution like an u-bracket onto the top side of the frame, which then can be hon onto another u-profile that is attached to your wall or ceiling.

You can now easily mount your custom acoustic panel to the wall and keep building more for how affordable they are to produce.

Play around, using different fabrics to create a new stylish look that can even make a nice upgrade to your room's design.

microsoft-wedge-wireless-mouse-front-view
Picture of Daniel
Daniel
I have a background as a touring musician, and in the tech industry, working in tech support for internationally operating brands. When I was a child, I started opening up every device I could get my hands on. Later, this lead to me building my own computers out of other people's trash computers. Today, I still like tech and gear, talking about it, and sharing my knowledge.
Table of Contents

Leave a Comment

Your email address will not be published. Required fields are marked *

Scroll to Top